
Step-by-Step Door Hardware Installation in Bluff Dale
JD
Introduction to Door Hardware Installation
Installing door hardware might seem like a daunting task, but with the right tools and a bit of patience, you can do it yourself. Whether you're in the process of renovating or simply updating your home's look, knowing how to install door hardware can save you both time and money. In Bluff Dale, where craftsmanship and attention to detail are valued, mastering this skill is particularly rewarding.
Before you begin the installation process, it's essential to gather all necessary tools and materials. This includes a screwdriver, measuring tape, a drill, and of course, the door hardware itself. Make sure that your door is compatible with the hardware you've selected. Now, let's dive into the step-by-step process of installing door hardware.
Preparing Your Door
The first step in installing door hardware is to prepare your door. Ensure that the door is securely mounted on its hinges. If you're replacing old hardware, remove it carefully without damaging the door surface. Use a screwdriver or drill to unscrew the existing hardware and set it aside.
Next, clean the area where the new hardware will be installed. It's crucial to have a smooth and clean surface for a successful installation. If there are any holes that need filling or repairs, attend to these before proceeding with the installation of the new hardware.
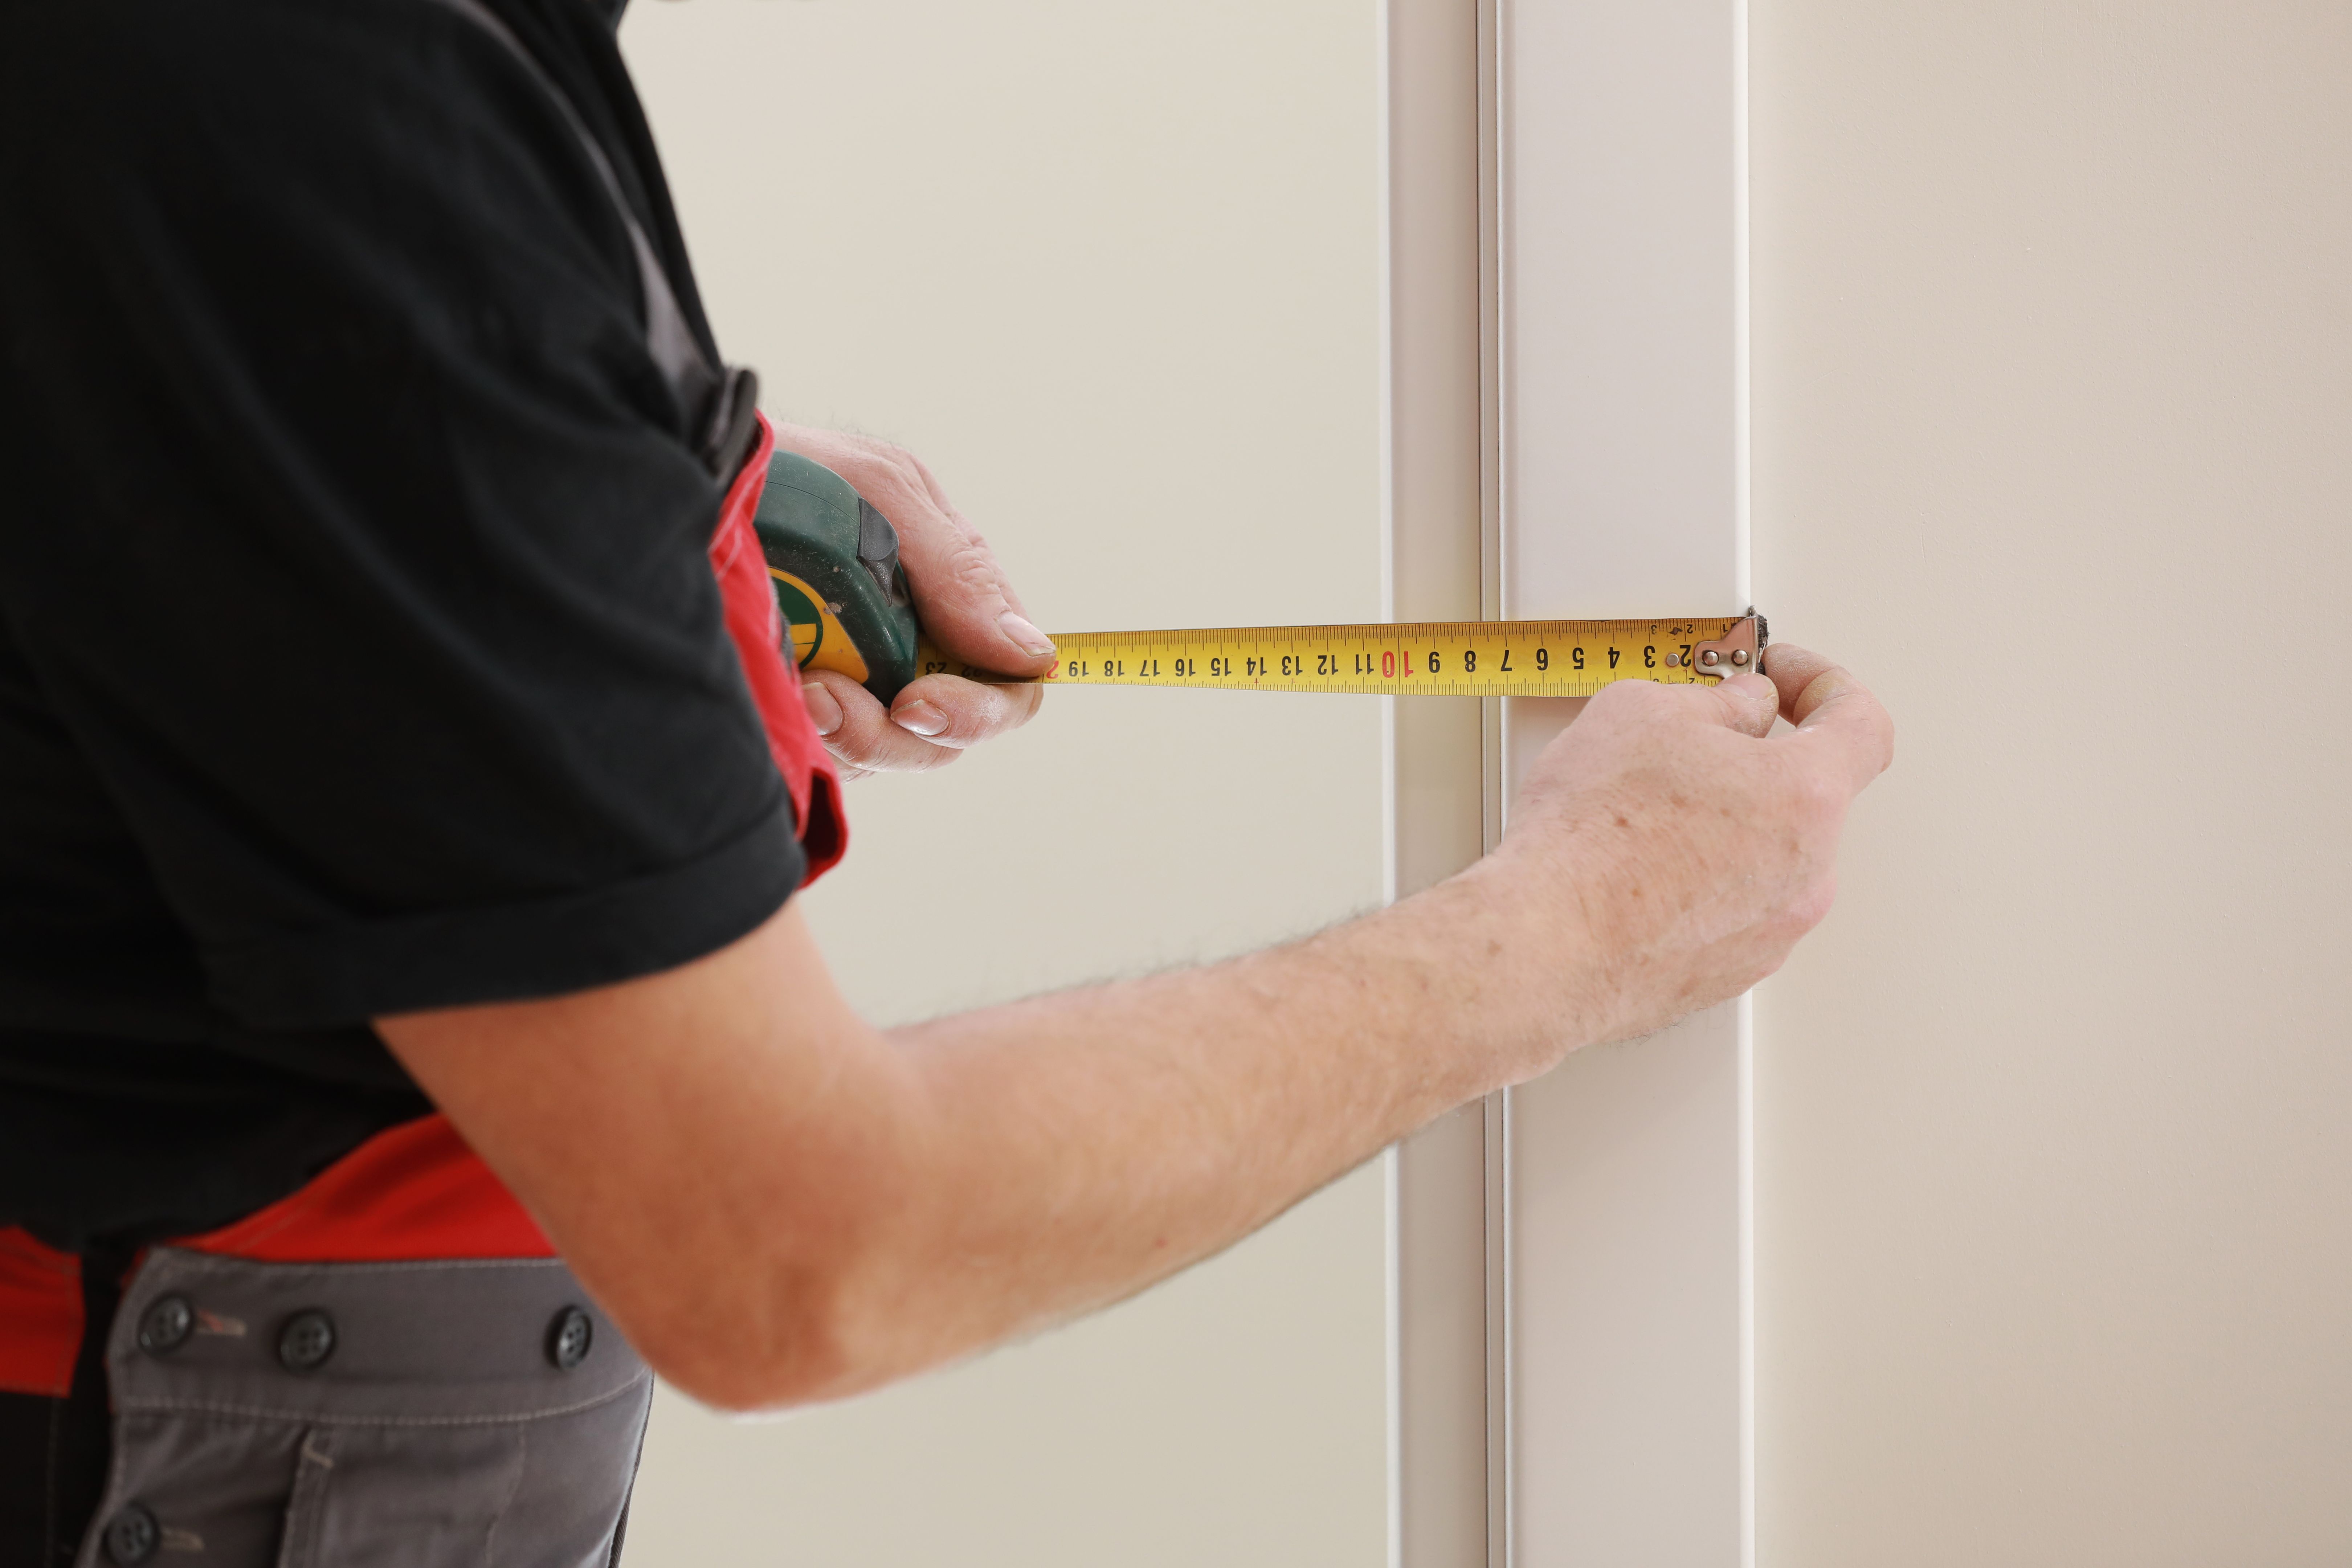
Measuring and Marking
Accurate measurements are key to ensuring that your door hardware functions properly. Use a measuring tape to determine the correct height for the doorknob or handle. The standard height is typically around 36 inches from the floor, but this can vary based on personal preference or design requirements.
Once you've determined the height, use a pencil to mark the spots where you will drill holes for the screws and latch. Double-check these measurements to avoid any mistakes that could compromise the installation.
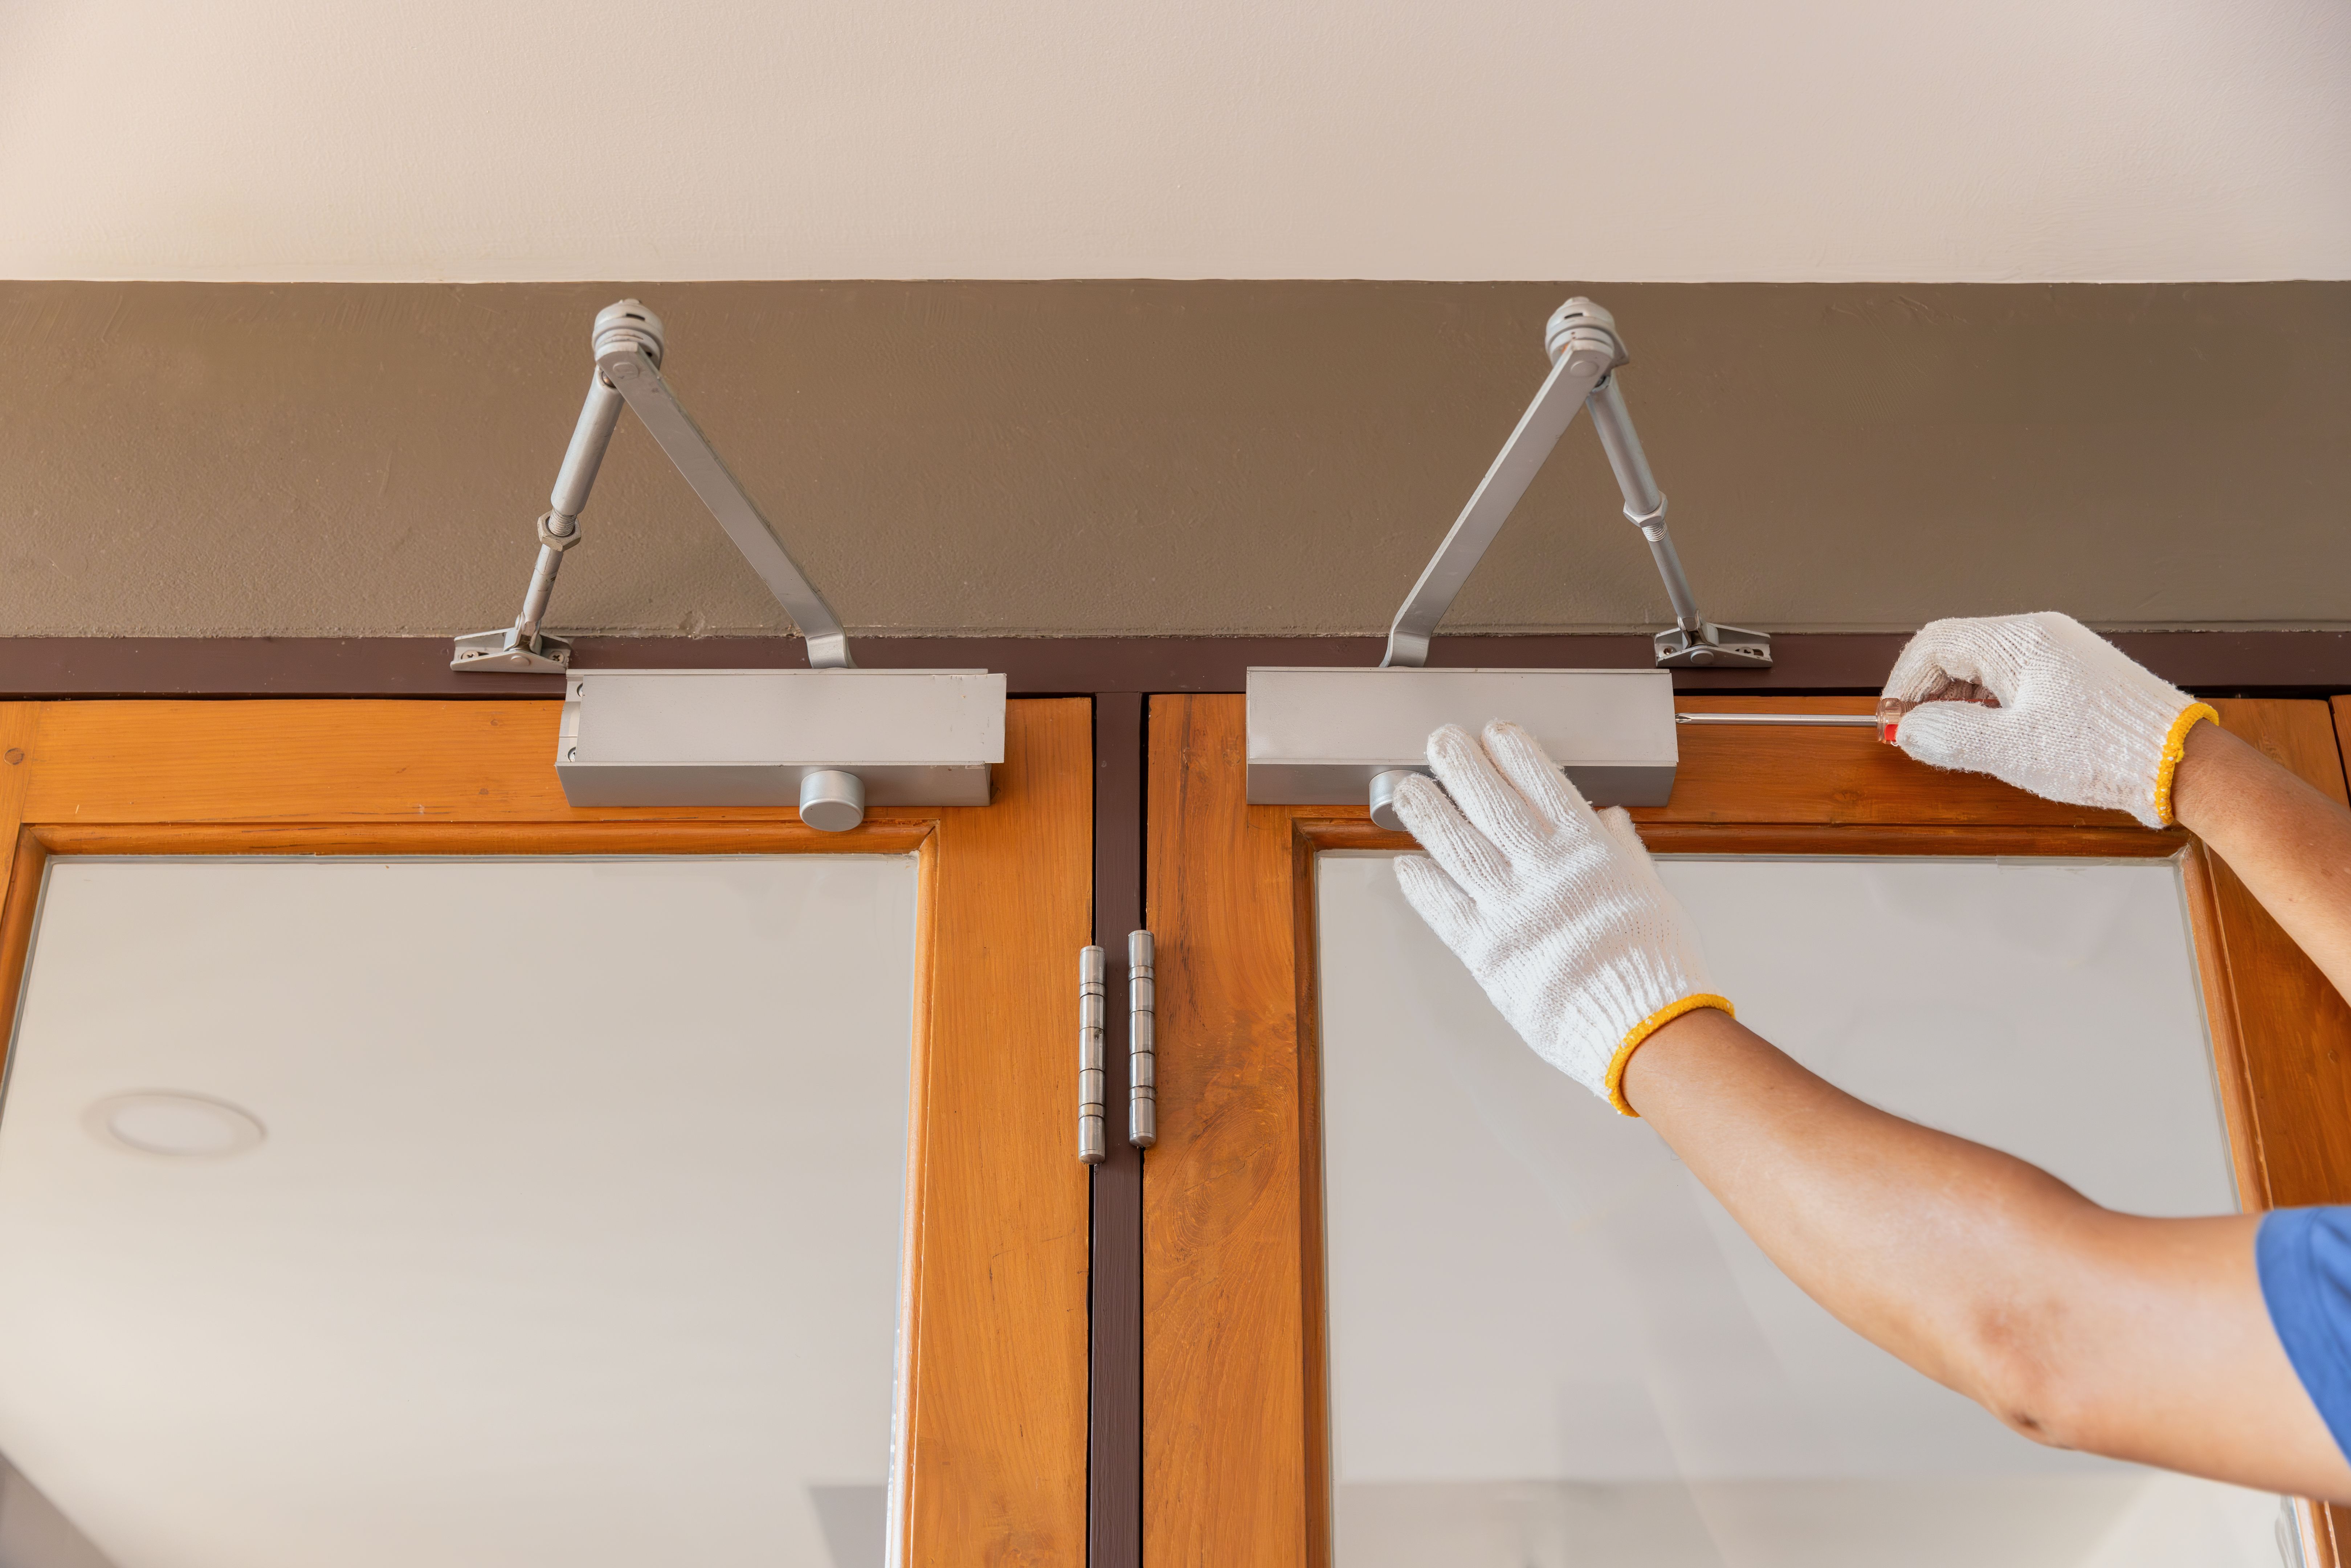
Drilling and Installing the Hardware
With your measurements confirmed, it's time to drill the necessary holes. Use a drill bit that matches the size of the screws included with your hardware. Drill carefully to avoid splintering or damaging the door. If you're unsure about the size, refer to the manufacturer's instructions for guidance.
After drilling, align the latch plate with the holes you’ve made and secure it with screws. Ensure that the latch moves smoothly without obstruction. Next, attach the exterior and interior parts of your doorknob or handle set, aligning them properly before securing them with screws. Tighten all screws firmly but carefully to avoid stripping them.
Testing Your Installation
Once your hardware is installed, it's crucial to test it to ensure everything operates smoothly. Check that the doorknob turns easily and that the latch retracts without any issues. The door should open and close without resistance, and the lock should engage securely if applicable.
If there are any problems, troubleshoot by checking alignment and making minor adjustments as needed. Sometimes, loosening or tightening screws can resolve issues with alignment or functionality.
Finishing Touches
With the hardware successfully installed and tested, it's time for the finishing touches. Clean any smudges or fingerprints from the new hardware using a soft cloth. This ensures that your installation not only functions well but also looks pristine.
If you're installing multiple sets of door hardware throughout your home in Bluff Dale, repeat these steps for each door. Consistency in installation will help maintain a uniform look and feel across all rooms.
Conclusion
Mastering door hardware installation can be an empowering achievement for any homeowner in Bluff Dale. By following these steps, you ensure not only a successful installation but also enhance your home’s functionality and aesthetic appeal. Whether you're a seasoned DIY enthusiast or a beginner, this guide provides all the information you need to get started confidently.